How To Woodturn A Kendama
All right today, I’m going to turn another kendama and I’m going to make it out of poplar, and the ball is going to be out of Myrtle wood. Stephen sent me detailed pictures of one he had with all the measurements and everything, so it should be much closer than the last one, but let’s go ahead and give it a try all right.
So Stephen sent me some pretty detailed pictures of one he had. So the cup on the bottom, for the main main stem, is about inch and a quarter. It’S really close to that.
So I’m going to shoot for that and it’s six and a half inches long. So I set my calipers here to just over inch and a quarter, so there’s enough room for the lip on it and I’ll go ahead and bring that down with the party tool and I’ll leave a little bit of room for Sam want to get it get It close there you put a little bit of detail on it with my fingernail, which doesn’t need to come down down too much until you get it get up up right up in here and okay and when it comes through the the centerpiece here it needs to.
From the centerpiece do you, the tip here needs to be two and a half inches is. Let me check on this real, quick, okay. So it’s two inches so we’re the the centerpiece is from the center of that to the point is two inches, so whatever?
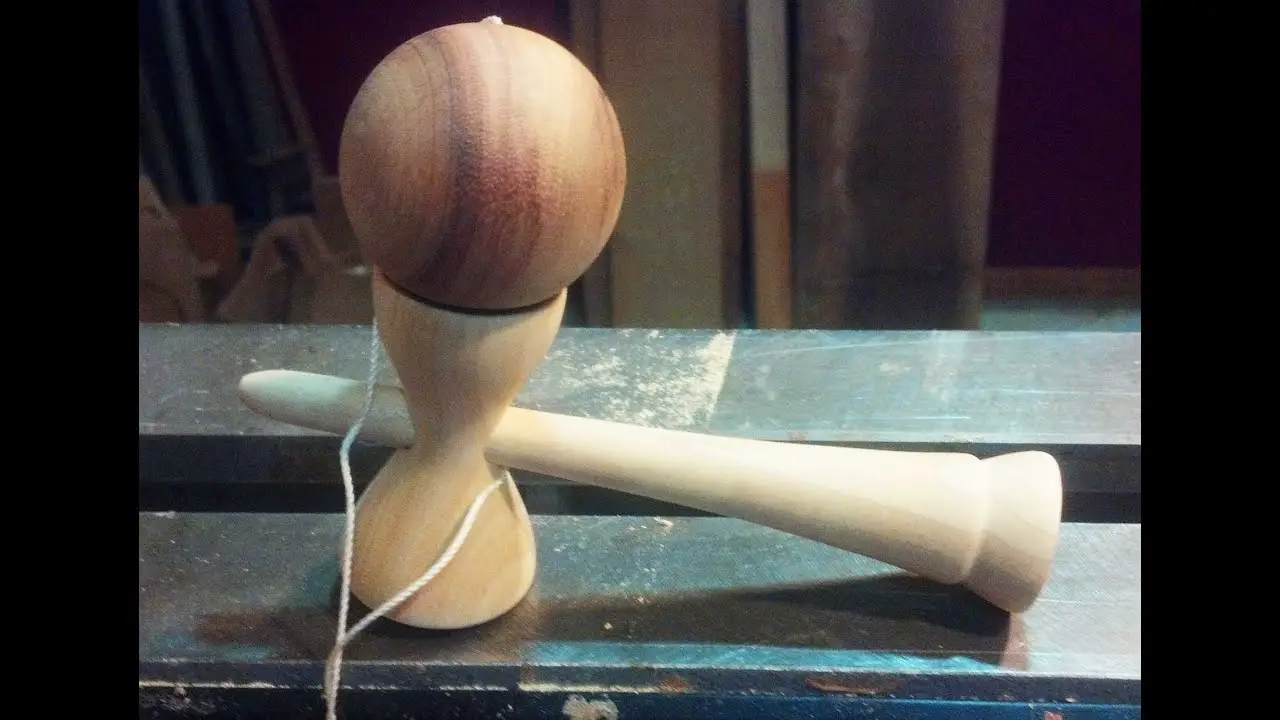
Whatever you do right in here, you need to make the hole on that center piece that that diameter, so so it adds up to two inch, so just get a boy bring it down and then taper it down for me, okay, so here’s my ball.
They had that made from when, when I was using the jig the other day, so we want to make sure that that this will slide into here all the way up into it and then have our our two inches so take calipers slide it in there.
So that’s about right right there, but we want it to go down in there and then an inch inch and a quarter or so right in there. So I need to bring that down just a little bit more initially. Sanding would probably clean that up, but then we want to make sure that our two inches is there, which is going to end up right right there.
We just need to, I think, I’m going to bring that down a little bit more, because the center piece isn’t going to be that thick and I want to be able to slide it through pretty easily not have to drill too big of a hole slide in There no for eight bucks that food sand it okay, I’m just going to take off that little nub in there with my fingernail gouge feed back up for a bus that I’m just going to I’d, read rather Sandman, often during the fibers. All right, then I’ll just cut that off of the knife and clean it up.
So there we go so now we’ll do the centerpiece okay, so the centerpiece is three inches long and one side of it is inch and a half. The other side is just under inch and a half, so I’m going to go ahead and set the diameter with the parting tool and then set of calipers and then cut out this side and shape it a little bit and then cut out the other side. And I have the latest beat set at 1800 and I set my calipers here a little bit proud for sandy and I’m going to adjust the calipers.
Thank you all right and I’m going to just take my fingernail gouge and cut off the in here. You and they’re all all of them there’s a little bit of a lip before it starts to drop in, and so I’m gon na leave that leave that work. Man we’re going to use the ball to get get it nice sold here a little balloon. The right! Hey there, we go a little bit more in the center okay.
I think that is just about perfect with a little bit of sanding. That will be right there and then fit in back that. That’S where it’s going to sit on that that part there right now. I would still have enough material there to to drill through it go ahead and bring this down cough it up. We just go okay, I’m going to go ahead and sand.
It up go through a couple of grits, real, quick and then drill the hole and then finish sanding about halfway halfway through that I don’t want to opal that hole out too much all right, so I’m just stepping up in drill bits, real slow, so just tear It out trying to keep it nice and straight we’re almost there all right there we go and it fits in there.
Nice and tight just make sure your diameter is the same same coming up here, so that it fits in there nice and tight on this side and on this side. So it’s not loose and just stay within the hole a little bit because it oval it out. /, okay, I’m just going to come in here and part it off. I’M going to use that you the other side.
I have really close so just a little bit of Chandi with it I’ll be fine, Hey! Oh all! Right there we go I’ll. Just does sand that up cut that knob off and put it together all right, so don’t think I’m gon na try and get away without making a fool of myself again. I’Ve been practicing a little bit, though.
The only thing I’m not sure about was the string length. I didn’t have a have a picture. Sad! Oh no did you see that was a high enough. Well almost so I made my string.
I don’t know about about 12 and 10 12 inches, we’ll have to get one more time there. We go all right thanks for watching and don’t forget to subscribe. I’Ll put all the pictures of the measurements at the end of the video. So take a look at those. If you want to make one you you
Read More: How to Leanhouse Kendama
[…] Read More: how to Woodturning aKendama […]
[…] Read More: How To Woodturn A Kendama […]