How To Change A Kendama String
So in this post we are going to be teaching you how to change a kendama string either if you are right handed or if you are left handed so let’s learn how to do that. There is actually two types of kens that are going to be showing you how to do.
When should I change a kendama string
There are a couple of scenarios where you will want to change your string. The first one, maybe you want to change the color of your string, the second being you want to put a different tama or different ken together to get even weights between the two, the third reason being that you played with it so much that the string gets really gross and grimy and it starts to fray and sometimes it even breaks then you definitely have to change your string.
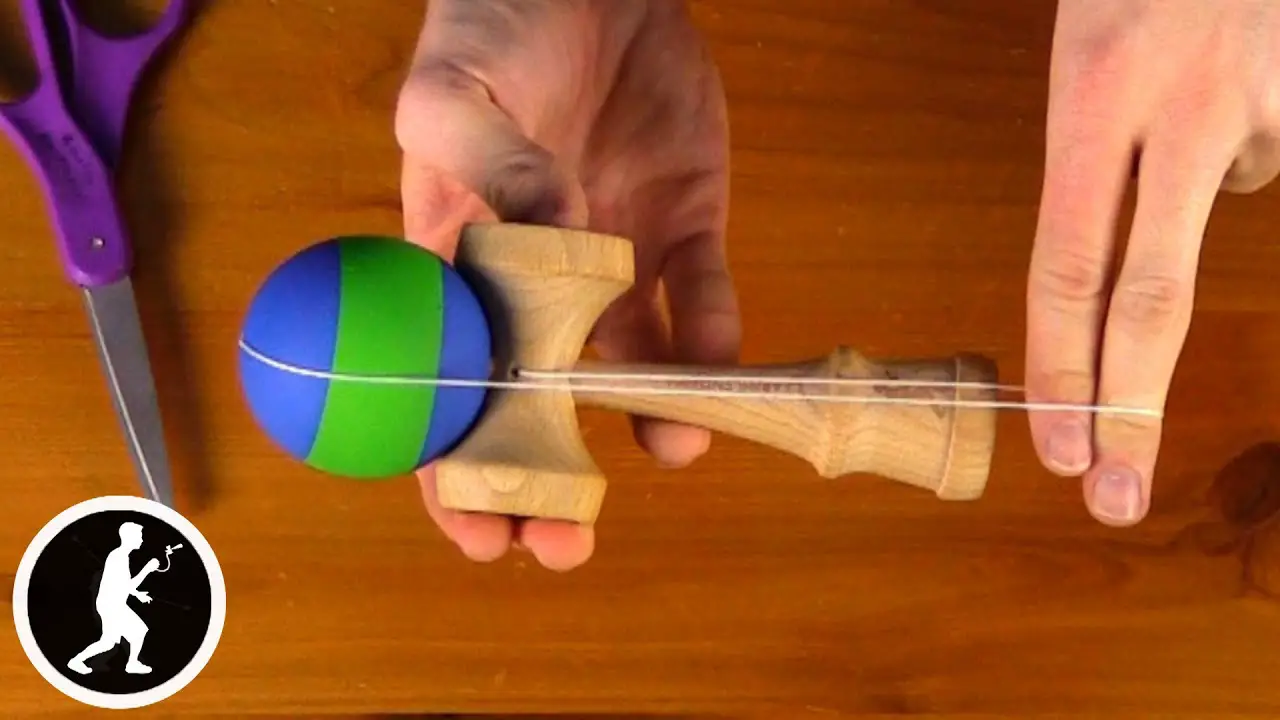
And the last reason being if you are left handed which is the most common reason you will want to change your string because you will notice when you are holding your kendama with your left hand with the big cup is facing up, the string is hanging on the outside and actually it is supposed to be hanging on the inside. That way you can perform the kendama tricks properly.
There is the standard where the sarado actually comes off of the ken which is what most typical kendamas use. We are also going to show on a kendama where the sarado is fixed in and these are actually designed to make stringing a lot easier so we will go over those in a minute.
Changing A Kendama String
So the first step, you want to take a handy pair of scissors and you are going to cut the string.
You will just simply take the string off the tama. And then when you have a standard you will see the sarado gets locked in place so you can not slide it out so you are actually just going to twist the sarado back and forth and pull the ken off.
If you have the ken where it is fixed when you cut you can see that you simply pull the string out of this ken. Now when we are stringing a kendama, you will notice in most string packs there is a little tiny flosser which comes in handy in a lot of situations because sometimes the string is really hard to get through.
So the first thing you want to do is you are going to take your tama and you are going to take the end of the string and just slide it through the tama.
Check Out my In Depth web story on How To Change a Kendama String
If you are having trouble with that you can take your flosser and you need to put the flosser in first. Then what you are going to do is you are going to take the string and put it into the loop of the flosser and push the flosser all the way through.
You see it come out of the other end and you want to pull though through and the string comes right through and comes all the way out of the tama. Now what you want to do, you want to take the bead that came with your string, make sure you do not lose it, it is what holds the tama onto the string.
You will slide the bead onto the string and we are going to tie a pretzel knot at the end. You can do a double knot but I find that pretzel knots are much more secure.
How To Tie a Kendama String: Pretzel Knot
So what you are going to do, you take your string and you go to tie a regular knot where it is just a standard loop and you put the end of the string underneath. Now the string actually looks kind of like a little pretzel and you are going to take the end of the string and you are going to thread it underneath onto the opposite loop.
It comes underneath and you are going to pull it tight and you will find its a little bit thicker than the standard knot and this also locks in really really well.
That way when you are doing all of your tricks the bead is constantly pushing on the knot it will not come out. So once we have done that, you will see that there is just a little bit of extra string sometimes so you can take your scissors and trim that off and then give the string a nice little pull to make sure that the bead is locked in.
If you do the pretzel knot like I said you should be pretty good to go.
How To String a Ken and Sarado
So now you have to string the ken and it is really really easy if you have one where it is fixed. Because all you have to do is you want to hold the ken in your dominant hand with the big cup facing up.
Then you are going to take the string and you are going to thread it on the inside of your sarado in this case it is going to be on the left side since I am holding with my right hand. If you are left handed with the big cup facing up you will see that the string goes through the right side and then once you thread that through you will just tie a simple pretzel knot at the other end of the ken and then your kendama will be strung.
Now lets show how to do it with a standard ken where it is two pieces. The first piece you want to string is the sarado and you will notice that there is a hole on the sarado where you string the ken and you want to make sure that when you hold the sarado when the big cup is face up and you want the hole to be facing outwards.
You are going to take the other end of the string and you are going to thread it through. If you are having trouble you can use your flosser again and do that same technique and you will pull it through. Now once you have the string threaded through the sarado you are going to take the ken.
If you look at the ken you will see that there is two different sized holes there is a bigger and there is a small hole. This big hole is where the knot gets held so that it does not get jammed in between the sarado and the ken.
So what you want to do is you want to take the string and you want to thread it through the small hole, right handed or left handed. Now at the end of the string you are going to tie your pretzel knot. Then if you have a little bit of extra string you can just take your scissors and you can cut that extra off.
How To Attach The Sarado and Ken
Now you will see that you still have three pieces of your whole kendama . What I like to do is I like to use the weight of the tama and you will see that this keeps the string tight so that the sarado can slide really easily.
What you want to do is you want to have where the strings coming out of the ken facing upwards and you also want where it is coming out of the sarado facing upwards so you can see that they line up really evenly on the string. You are just going to slide the string so it is nice and tight and you are going to push this down. Once you feel a little bit of force and resistance you are going to stop.
You do not want to push the rest down with your hand because then you can risk pushing the sarado down too far and you can actually ruin your ken. So you want to take your tama and push down like this, you push it in where it stops.
That way you do not push your ken too far down and it is in the right place for your balance tricks. So once you have the string fully on like this you need to measure the length. The Japanese Kendama Association says that it must be an average of two fingers when you have the tama on the spike and you put your fingers through and you pull it, two to three fingers is the average length.
If you have it too long, because some strings are longer than others, all you simply need to do is take the string and if it is too long just pull a little bit tighter, you usually need to adjust about a half an inch.
Then you can just slide the string back through the tama.
You are just going to tie the knot, slide the bead up, you will just tie the knot just a little bit farther up. Not much because you do it like a full inch you are actually going to shorten your string by about three inches. Just little tiny measurements are your friend on this.
Kendama Tips
Once you have that, another little tip, what you can do if your kendama is getting really old and you find the sarado is sliding off a lot you can actually just take a glob of superglue and you are just going to superglue at the top of the sarado and the bottom of the sarado check out our post on how to glue a kendama spike.
Just two little dots and this will have enough for the sarado to stay in place but then if you do ever need to change the string you can just give it a twist and break the superglue and slide the sarado off.
Another tip if you are doing a lot of tricks where the bead is coming out of the tama when you are doing pull ups. You can actually tie a knot above the tama and to do that all you will do is are going to tie a standard knot, use the end as the ball and just make sure that when the knot goes, it gets really close to the tama you do not want it too high up. This knot prevents the bead coming from out of the tama which is kind of nice during some ticks. Now you know how to string your kendama.
Read More: What Is The Pill Kendama?
[…] Read More: How to Change a Kendama String […]
[…] Read More: How to Change a Kendama String […]
[…] Read More: How to Change a Kendama String […]
[…] Read More: How to Change a Kendama String […]