How To String A Pill

Stringing A Terra Kendama Pill
In this post I am going to teach you how to restring your Pill. You will want to restring your pill just for a variety of reasons. Maybe you want a different color string on it. Maybe your string broke or it has gotten dirty. Maybe you want to adjust the length of the string.
All of those are great reasons to restring it an it is pretty easy to do. What you are going to want to do. First is get your pill and take the string off of it. You can cut the string off the node and cut it out of the cap. You will find that your cap has a bead inside of it.
You will want to hang on to that bead
Your spare string should come with a bead, but it is always great to keep a hold of it and have an extra one.
What You Need To String a Pill
All you are going to need. Is your pill, your string, your bead, a pair of scissors that we will use at the end and if you are having trouble getting the string through the holes, a flosser from a kendama is helpful. I find that the holes on the pill are very easy to thread the string, So you shouldn’t need a string flosser. To start off. What we are going to do is we are going to start by stringing the cap.
So we will set the base aside and get the cap set up here. We will get our spare string. Typically, you want your spare string to be somewhere between 15 and 17 inches long. When you start stringing, Then, as you adjust it from there, it will get to the right length. If you do not have a spare pill string and you are using a spare kendama string, that is ok too.
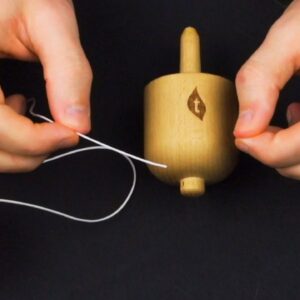
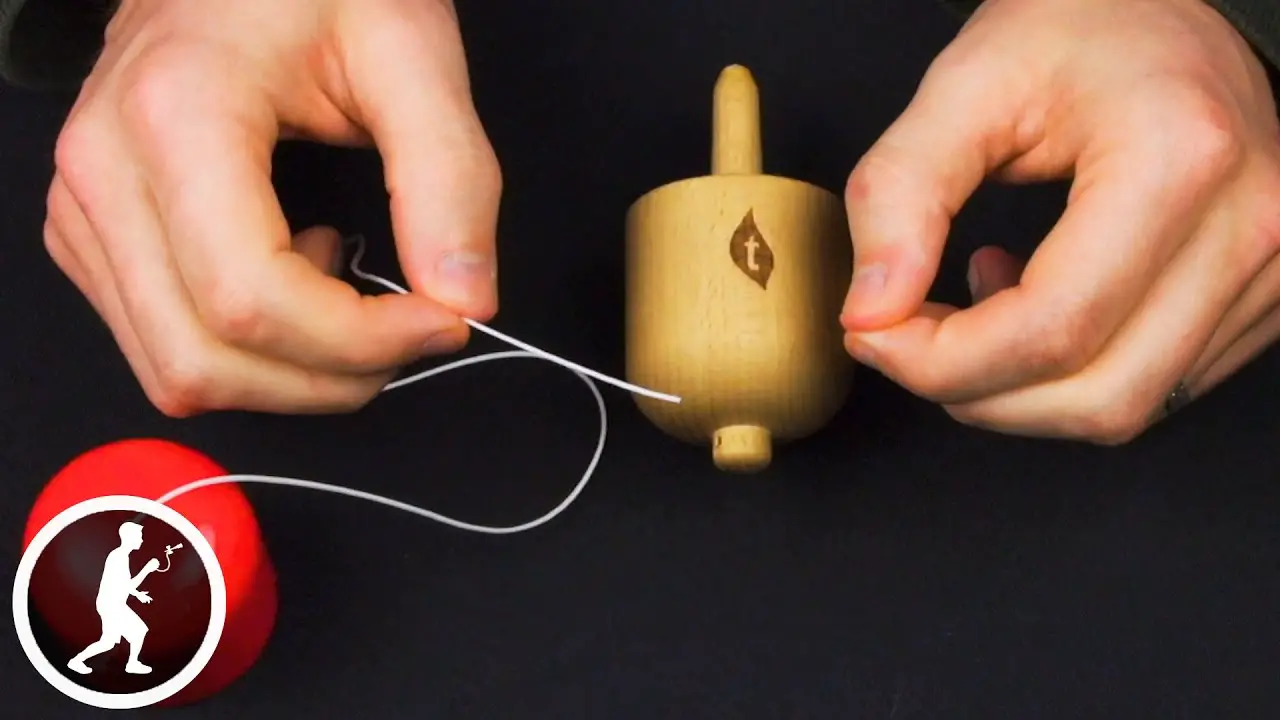
It will be a little bit longer. You will find it will not affect it, because we can adjust that length at the very end. I will show you how to do that To start what we are going to do is take our string and we are going to thread it through the top of the pill cap like so, Stick it right through and It is going to come out through the hole underneath, so you can pull that through.
You want to leave some string just to make sure it does not pull all the way through. The next thing that we are going to do is string our bead, So you can see the bead has a little tiny hole it in. I am going to stick this string right through the bead. Then you can drop that bead down the string and let it fall right into the hole of the cap.
Knots For Terra Pill Toy
When you tie this knot, what we recommend tying is a slipknot, That is, for a variety of reasons. One is that the knot is thick enough that the string will not pull through the hole during play. It is also a helpful knot that it is easy to undo. So if you want to adjust the length of the string or fix something it easily comes out, You can use a regular double knot that tends to be thick enough but again it is not so easy to untie that knot
What we have now is our loop and then our folded string, Just like so You can see there – is this loop, like this
What we are going to do is take the folded string and stick it through the loop just like that, But you do not want to go all the way through.
You make a loop want to just stick it halfway through then back out to tie a slip knot. What happens is when you pull this string and tighten it around that double string of string You will find that you can tighten it and it creates a knot like so
Then you see here there is this loop and if I pull on the free end of the string, I can actually adjust the size of that loop. That is what is helpful. If you pull that all the way out, it will actually undo the knot completely, which you do not want to do, but you do want to try to make that loop, pretty small, like that.
That way, it does not interfere with play From here. You can take the end coming out of the top of the cap, Pull it so that the knot goes all the way inside the cap. Just like that Then go ahead and set your cap aside. We are going to tie the knot on the base.
Now this knot we are going to tie on the base is called a bowline knot.
It is a little bit complicated, so we will break it down. It is a great knot because it is not a slipknot and it actually tightens as you play so it kind of guarantees that the knot will not come undone, so it will last a long time.
Kind of create some length and then pull the string here to tighten it up. It takes a little bit of work to kind of get the string close to the node, But if you work at it it will do it.
Pill Stringing Tips
What you are going to find is, once the knot is tied all the way there is still, a little bit of space between where my knot is and where the node is. That is so that the string can move freely on the node. If you tie it too tight so that it is tight against the node, it will interfere with play and the tension of the string.
So you do want just a little bit of space between the knot and node.
You will see there is a little extra tail there. that you can trim trim. So once you have done that you might want to play around with your pill a little make sure the string is the length that you would like. If you need to adjust the length you will leave the bowline knot right in place, You are actually, if you want to make it longer or shorter. The way to do it is to undo this slipknot and retie that
Once you have gotten it to the length that you want and you are satisfied with it, what you can do is trim off these little ends so a lot of times the end on the bowline knot, if it is short, does not really matter much, but I Still like to trim it just a little bit like that, Particularly the one that you need to trim is if your slipknot has a longer end of string which, particularly if you are using a kendama string, you will find this is a little bit long.
As your adjusting the length you will want to trim that, but not too close to the knot. Just in case you need to be able to undo that slipknot, for whatever reason You want to leave at least a little bit of a tail off like that. Once you have done that that everything that you need to string your Pill,
Read More: Learn The Great Pumpkin Pill Trick

[…] How To String A PillSeptember 26, 2022 […]