Boarders Balance Kendama Trick Tutorial
In this tutorial, I am going to teach you Border Balance. The first thing you are going to want to learn is you are going to look back on our tutorial on Airplane. That is the base of this trick, and you want to learn that first, Once you have the Airplane down, you can move on to Border Balance.
Borders Balance Basics
The first tip is the grip. You are going to adjust your grip from the normal Airplane grip and twist the hole toward the inside of your hand. This allows for a nice flat surface on the top and allows the string to move out of the way, so it doesn’t wrap around your fingers. Once you have the grip down, you can work on the pull-up. It uses the same pull-up as the Airplane.
Just a little more precise, You are going to want to pull the spike toward the tama so the distance between the spike and the tama is small. If you have a lot of distance and you let it drop a lot, you are less likely to land the trick because it will fall off.
Boards Balance Trick Tips
A good tip to get the spike to consistently land on the side of the tama is to use your knees on the catch. Using your knees will help you cushion the entire trick and balance it that much better.
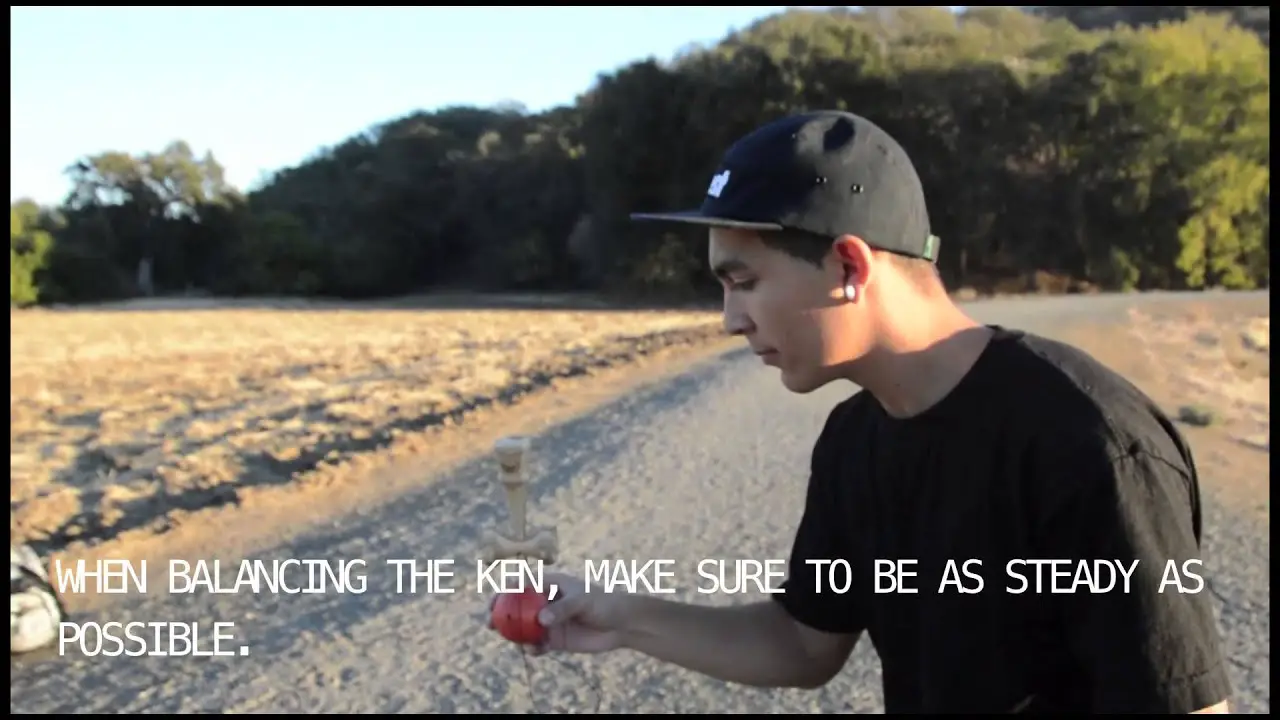
Now it is time to balance. My first tip on balancing is stiffening your dominant arm and using your whole entire body to balance instead of just your arm. This will allow you to use minute movements rather than large movements. Large movements will make you overcompensate and make the ken fall off.,
The second tip on balancing is you want to stare directly at the base cup, because this is the part of the ken that is influencing the movements the most. Once you are balancing the Border Balance the next thing you are going to want to do is spike it.
How To Spike Boarders Balance
For this you are going to want to take the whole trick and drop it all at once and turn the tama back. So the hole goes towards the top
For this you are going to want to use your last three fingers, which are your middle finger, your ring finger and your pinky finger. They are at the bottom of the tama, so you are going to use those to twist the hole back toward the top in mid-fall. So you are going to drop it all at once, twist your fingers, so the hole moves to the top and then spike it or land the trick.
A common misconception is that you can only do it with a flat / dull spike. Although it is easier with a flat, dull spike, you can do it with any spike you want. It just depends on how much practice you want to put into the trick.
Once you start getting it down a little more, you can start holding it as long as you can. You can work on one seconds two seconds three seconds up to as long as you can. That is how you do the border balance. I hope you enjoyed this Kendama Tutorial.
If you enjoyed the boarders balance kendama tutorial then check out these posts below.
Lighthouse Trade In Kendama Trick

[…] hole has been made for reason because it has the exact same shape as the spike, so you can do a borders very easy with a with a brand-new Viking. It’s perfect! When I play a standard sized […]